If you have a Dell XPS desktop computer and need to eject a DVD, follow these simple steps. Firstly, ensure that your computer is turned on and the DVD isn’t actively playing in a program, as this can prevent it from ejecting.
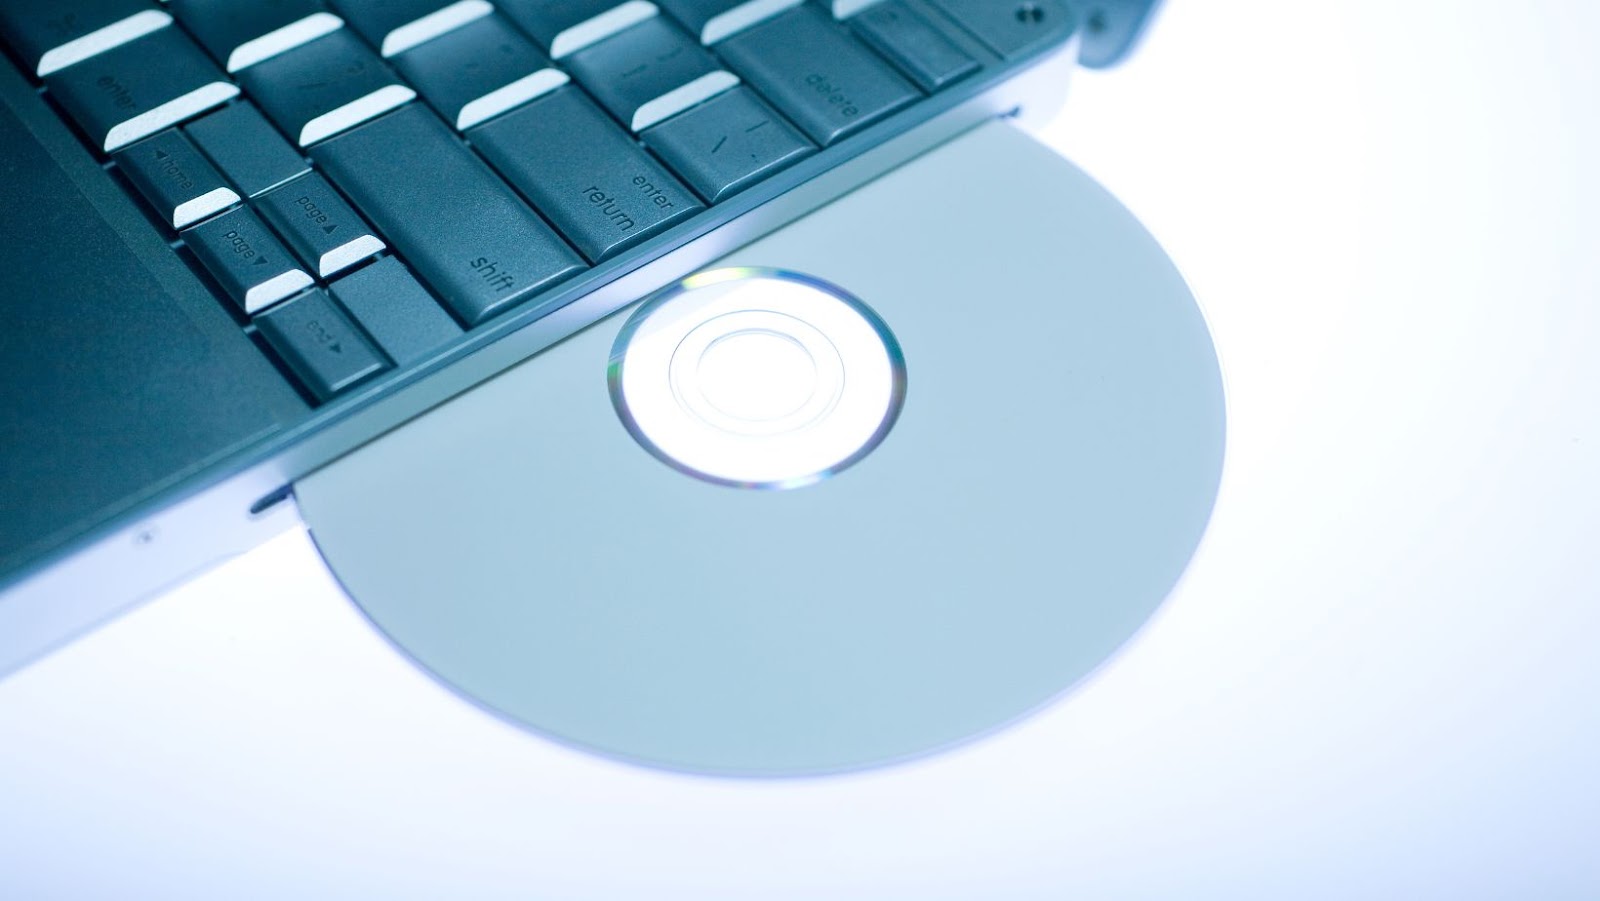
Next, locate the DVD eject button on your computer. On Dell XPS desktops, this is typically located on the front of the tower, near the optical drive. Press the eject button firmly, and the optical drive will open, allowing you to remove the DVD.
If your computer doesn’t have an eject button or you cannot find it, there are a few alternative methods to consider. One option is to use the Windows eject function. First, simultaneously press the Windows and E keys on your keyboard to open File Explorer. Then, right-click on the DVD drive and select “Eject” from the dropdown menu.

Ejecting a DVD from Dell XPS Desktop Using the Keyboard
Shortcut
Ejecting a DVD from a Dell XPS desktop can be accomplished with either the mouse or the keyboard. This section will discuss how to eject a DVD using the keyboard shortcut.
To start, locate the “Eject” button on your keyboard. This button is often labeled with an arrow pointing upwards and a line beneath it.
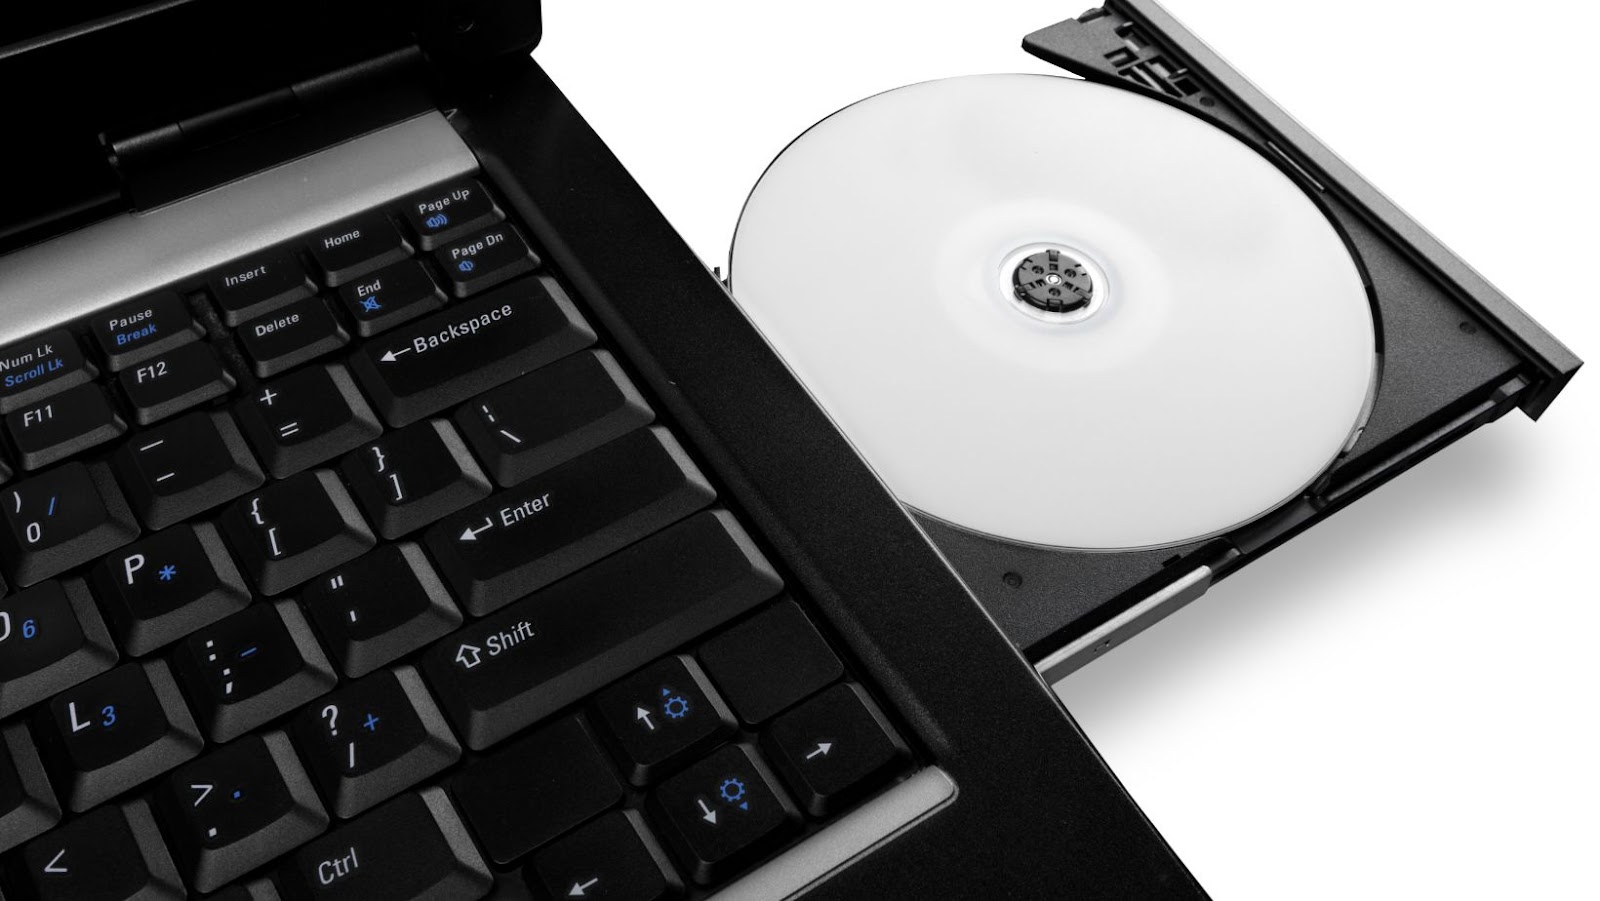
Once you have located the “Eject” button, press it firmly to eject the DVD from the Dell XPS desktop. The DVD should only take a moment to fully eject from the drive.
If the Eject button is not working, ensure that programs or applications do not actively use the DVD. Then, close any relevant software and try ejecting the DVD again.
If you are still experiencing issues ejecting the DVD, use the manual eject hole on the Dell XPS desktop’s DVD drive. The manual eject hole can be found on the front panel of the DVD drive and is typically a small, circular hole that requires a paperclip or similar object to press down on a lever and eject the DVD.
In conclusion, ejecting a DVD from a Dell XPS desktop using the keyboard shortcut is a quick and easy. Simply locate the “Eject” button on your keyboard, press it firmly, and wait for the DVD to eject. If you are still experiencing issues, other options are available, such as using the manual eject hole on the DVD drive.

Dell XPS Desktop How To Eject DVD
If you’re using a Dell XPS desktop and need to eject a DVD, there are a few easy ways. One of the simplest methods is to use the File Explorer. Here’s how:
- Locate the DVD icon – The DVD icon will be displayed on the left hand side of the File Explorer. Depending on your system, it may be labeled as a CD or DVD drive.
- Right click on the icon – Once you’ve located it, right-click it or hold down the left mouse button.
- Select the “Eject” option – A pop-up menu will appear with several options. Select the “Eject” option to remove the disc.
- Remove the DVD – After selecting the “Eject” option, the disc should automatically eject from the drive. Simply remove it and you’re done.
It’s important to note that you should always wait for the disk to fully power down before removing it from the drive. This will help prevent damage to both the disk and the drive itself.
Ejecting a DVD from your Dell XPS desktop using the File Explorer is quick and easy. However, remember to take care when handling your discs and always wait for them to fully eject before removing them.
Troubleshooting common issues when ejecting a DVD from Dell XPS desktop:
If you’re having trouble ejecting a DVD from your Dell XPS desktop, you can try a few things to resolve the issue. Here are some troubleshooting steps:
- Wait for the DVD to finish playing: DVDs sometimes take a little while before you can eject them. Try waiting a few minutes and then ejecting the DVD again by pressing the eject button on the front of the desktop’s DVD drive.
- Use the eject button on your keyboard: Most Dell XPS desktops have an eject button on the keyboard that you can use to eject a DVD. Look for the “eject” icon on one of the function keys (usually F10 or F12) and press it while the DVD is still spinning. The DVD tray should pop out and allow you to remove the disc.
- Restart the desktop: If none of the above steps work, restart the desktop and then eject the DVD again.
- Use Windows File Explorer to eject the DVD: If the DVD still won’t, try going to Windows File Explorer, right-clicking on the DVD drive, and selecting “Eject.” This should force the DVD tray to open and allow you to remove the disc.
- Contact Dell support: If none of the above steps work, there may be a hardware issue with your desktop’s DVD drive. Contact Dell support for assistance.